使用PicGo,nginx创建个人图床服务
实现方式
- Nginx 服务用来显示图片
- PicGo可通过剪贴板,图片拖拽,外部图片链接等方式来上传图片
- PicGo通过sftp的方式与服务端
- 本页面的图片均已上传个人图床
- 习惯使用markdown软件的必备服务
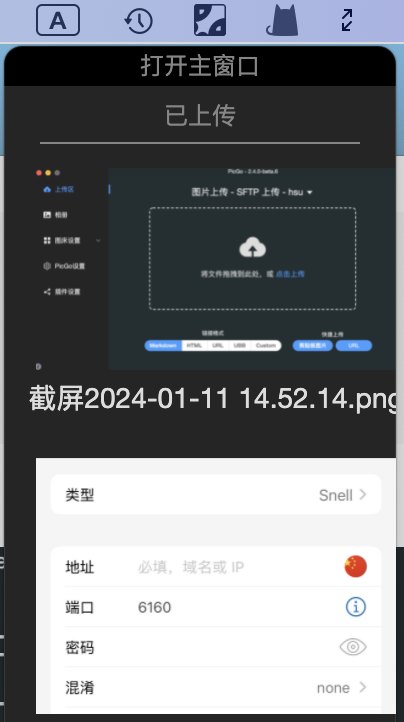
直接拖拽图片到状态栏可以上传
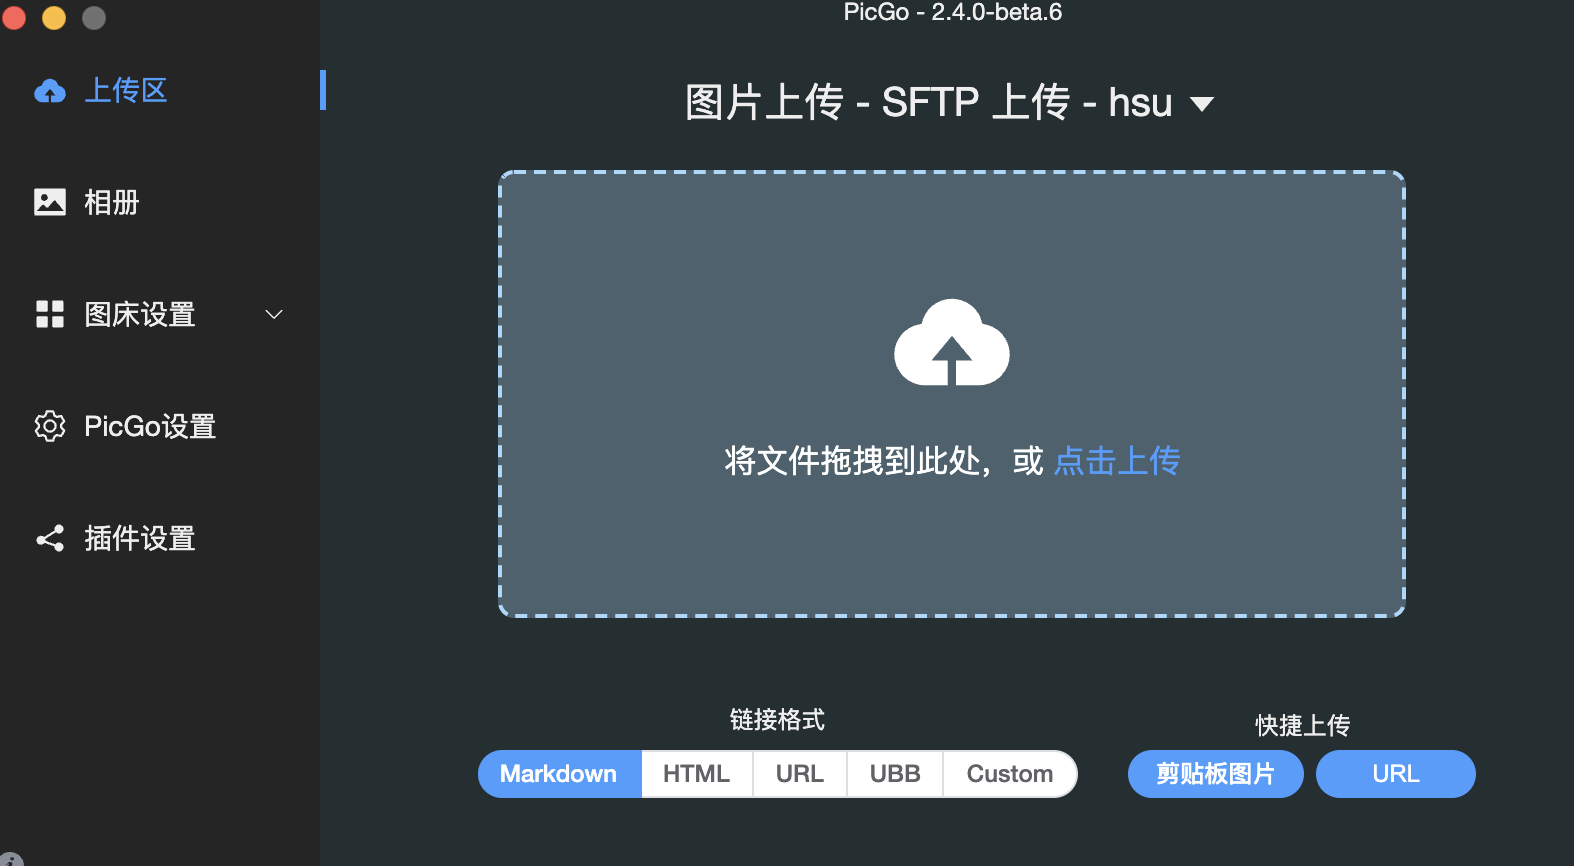
上传区功能页面
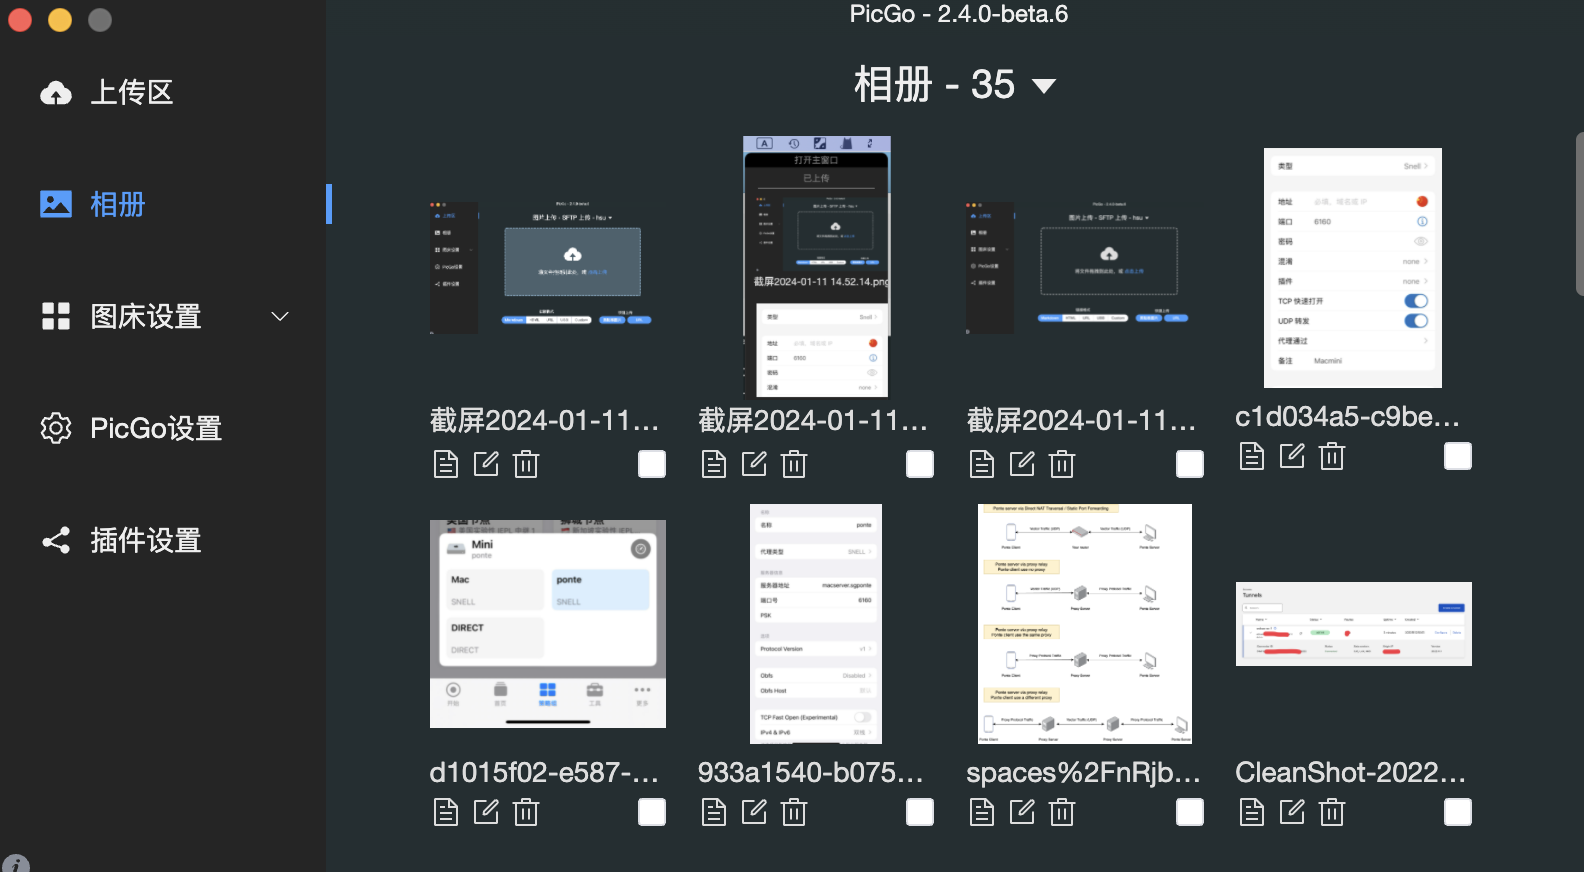
相册管理页面
安装方式
下载arm64的PicGo,下载地址
直接安装,安装后如果无法打开,运行以下两条命令
1
2
sudo spctl --master-disable
xattr -cr /Applications/PicGo.app搜索安装sftp-uploader插件
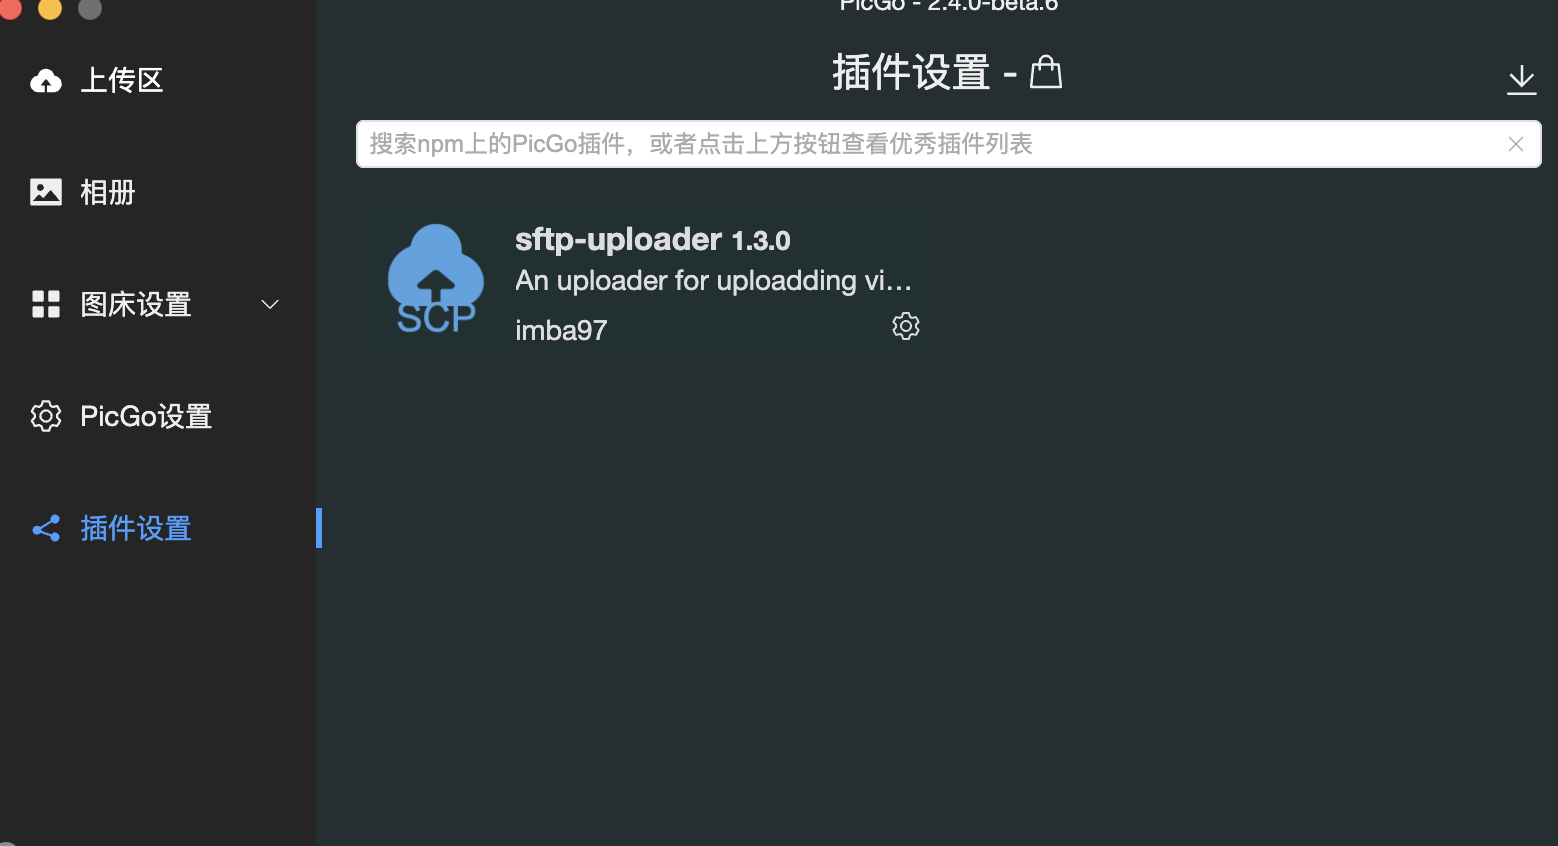
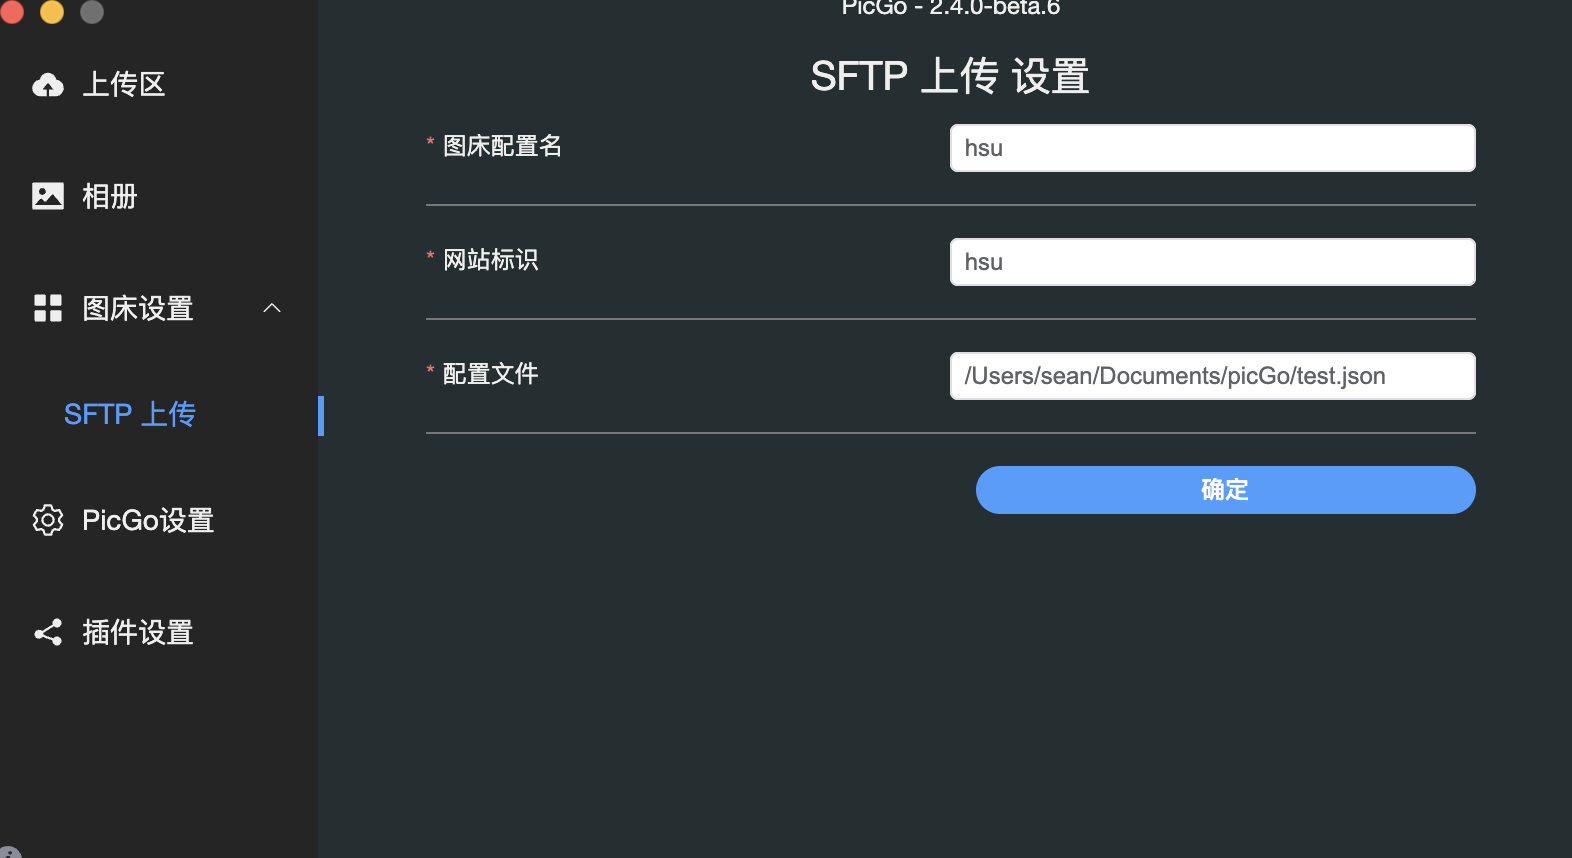
设置中填写sftp配置文件路径
创建json配置,保存在本地
1
2
3
4
5
6
7
8
9
10
{
"hsu": {
"url": "https://image.hsu.life",
"path": "/{year}/{month}/{hash16}.{ext}",
"uploadPath": "/volumn1/www/image/{year}/{month}/{hash16}.{ext}",
"host": "192.168.x.x",
"username": "root",
"password": "passwd"
}
}uploadPath 添加服务端的路径
sftp通过端口22访问,可以ssh访问访问的均有上传
具体配置见:(https://github.com/imba97/picgo-plugin-sftp-uploader)
mac安装nginx
1
brew install nginx
查看nginx的主目录在本地的路径
1
nginx -V
–prefix参数对应本地主目录html路径
–conf-path 对应配置文件路径
All articles in this blog are licensed under CC BY-NC-SA 4.0 unless stating additionally.